I have too much for one blog post again. After exhaustive public consultation (three people on twitter) the consensus is to have geeky photos of pipes, green roof and stove first, with geeky photos of clay and wall to follow soon.
We still haven't finished. Schedules are apparently a thing to laugh at or weep over, not to be upheld (despite my best efforts). Starting to clay-plaster just as the weather got cold and damp - and before the stove was functional and able to heat the building up - wasn't the best timing. There's an awful lots of water held in a thick layer of clay-plaster and it takes a while to dry. This isn't helped by the near-airtight building, with the ventilation system not yet commissioned; when moisture does evaporate from the plaster it has nowhere to go, so condensation has been a major issue. Thankfully the stove is now fully functional, we have a big dehumidifier and a fan - things are finally drying out.
We couldn't use the stove firstly because it didn't have a chimney (quite crucial really), and then because the hot water system in it was filled with water and sealed, pending connection to pump/controls and water tank. To fire the stove in that state risked damaging the heat absorbers or producing explosive steam: as the trapped water heated up and expanded it would have nowhere to expand into.
Disclaimer: I try to explain some plumbing bits and pieces below. In order to get a system installed - and specify parts - that would do what we needed, I have had to learn a lot more about plumbing than I ever wanted to. But I'm not a plumber and am not qualified to give plumbing advice! I've tried to explain the plumbing in words that I understand, so hopefully other non-plumbers will too... But feel free to skip to the pretty pictures below, or the brief green-roof blurb 5 paragraphs down.
Quite why it took so long to start getting the stove connected to a tank is still, frankly, a bit of a mystery to me. In the plumbing contractors defence, the stove system is like no stove system they have worked with before. In the UK, the standard stove is a big chunk of metal, it gets very hot very quickly, and pumps out all it's heat in a short space of time. Any hot water system has to absorb that heat very quickly and safely, and the building regs are quite specific about that meaning an open-vented system. This means there is a small "header" tank in the loft, into which an open pipe from the hot water tank (or from the boiler built into the stove) vents, so the expanding hot water is pushed through the vent pipe into the little tank, from where it flows back into the system. The problems with this are that it relies on gravity to circulate the water, that it's inefficient (in my mind anyway - surely heat is lost as it vents and circulates), and that it allows air into the system which speeds up corrosion in the pipework , shortening its life.
The physics of heat transfer through a masonry stove mean that the heat
is released through the first layer of bricks to the heat-absorbers more
slowly than in a standard metal stove or range, so that sudden intense release of heat just doesn't happen. To ensure enough heat is collected to heat the water, the absorber plates cover most of the surface of the stove's inner core (see pictures in
http://thewoodlouse.blogspot.co.uk/2013/06/lovely-cosy-heat.html, along with an explanation of how the highly efficient stove works). Gravity alone would struggle to effectively move water through these. The system is designed to be pressurised and pumped, increasing efficiency of the heat transfer and prolonging the life of the pipework (as it is built in between the two layers of brickwork, it's not something you'd want to replace). This also allows the pump to be electronically controlled, ensuring water isn't pumped round until the temperature in the stove reaches a mimimum - this stops the stove being cooled during combustion, which would stop it burning efficiently - and not until the water in the stove is hotter than water in the thermal-store tank (so it doesn't cool down our hot-water supply).
The system is basically the same as a solar hot water system - the controls and safety systems are identical. There is a sealed expansion vessel (if I've understood correctly, this is basically a very tough, heat-proof balloon housed in a metal container; the balloon fills with water as it heats up and expands, preventing a dangerous increase in water-pressure without letting any air into the system); if all else fails there's a safety valve which opens and releases pressure in a vaguely controlled way before it causes anything to burst. Solar hot-water systems are regularly installed like this, perfectly safely, and approved by building control, without problem. Suggesting connecting an identical system to a stove seems to make plumbers very uneasy. Before we could proceed I had to get the building inspector to confirm that he thought there wouldn't be a problem if the manufacturers were happy and their instructions were followed. The combination of heat-absorbers and solar-style controller was developed by
Toby Hafner specifically for masonry stoves.
In order for the stove system to be pressurised, it needs to be connected to a thermal-store (glorified hot-water tank) that is also pressurised. This also allows us to have mains-pressure hot water - the mains water is heated as it passes through a coil of pipe in the tank. Running the hot tap draws heat from the thermal-store but without pouring cold water into the body of the tank to simultaneously dilute the hot water (which is how normal hot water tanks work). No UK manufacturers make suitable tanks for our needs, so in the end we had to get an Akvaterm store imported from Finland via the incredibly helpful
www.accumulatortanks.co.uk. These are extremely good tanks, making for very efficient use of all heat. I'd originally planned to use one but was swayed to try other tanks by the contractor - I should have stuck to my guns as it turned out to be the only tank to do the job.
The thermal store has it's own sealed expansion vessel and safety valves. These are
really important. To see just how important I highly recommend searching on YouTube for "
hot water tank explosion" and watching at least the first couple of videos. Yikes.
Green roof
I'll try and be brief here, to make up for the above plumbing ramble. Maybe I'll go with bullet points. Green or living roofs are a good thing because:
- they either replace greenery lost to the building footprint, or introduce new greenery where none was lost (eg.: we built where a garage, a sunroom, a shed and a patio were, so only a few metres square of grass was lost to our build)
- the greenery makes a small contribution to absorbing carbon dioxide and releasing oxygen
- they increase biodiversity - as well as the plants themselves many beneficial insects can take up residence in a green roof (our roof is mostly sedum plants, as this roof is the lightest possible - this isn't the best for biodiversity but we'll counter that by making piles of ageing logs and making potential homes for bees and other wee creatures)
- they slow down the run-off of rainwater - this helps prevent the overloading of soakaways or sewers during rainstorms
- they look nice
And now for some pictures of pipes, roof, and some other bits.
 |
| Cody (http://www.stovecraft.co.uk/) tests the strength of of the firebox roof while fitting the twinwall, insulated, stainless-steel chimney |
 |
| Lovely and shiny. The ceiling plate with EPDM rubber seal seams to be the only airtight one currently available and approved by HETAS. Made by Poujoulat, whose whole system was a dream to work with. Amazing service too. |
 |
| Cody fits the rain cap to complete the chimney |
 |
| We finally finished the stove and fitted the stone capping to the top, at the same time as fitting the chimney |
 |
| Shame no-one will see this lovely bit of reclaimed London paving slab (York sandstone) |
 |
| The beastie - 150kg, 300litre Akva SolarPlus accumulator tank, manoeuvred into place by me and my trusty sack barrow. Getting it through that doorway was interesting. |
 |
| The solar coil glimpsed through an opening in the tank. The coil is finned - the greater surface area means greater and faster heat-transfer from the solar system into the tank. |
 |
| Solar PV inverter and the first bits of plumbing. |
 |
| Solar pump and controller top left, stove pump and controller bottom right (grey boxes). Note their similarity... |
 |
| Pipes linking it all at last! There are two solar coils in the tank: a thermostatic valve diverts water below 60 C into the bottom coil to preheat the bottom of the tank - when the water from the solar panels reaches 60 C it goes first through the top coil before going on to the bottom coil, making sure the most efficient use possible is made of any heat. More info here: http://www.akvaterm.fi/eng/Accumulators/AKVA_SOLAR.41.html |
 |
| Nearly finished. Water from the stove circulates through the main body of the tank, across the mid-section, not via a coil (tank and stove system are pressurised to the same level) |
 |
| Finished and functional. Hurrah! I'm so glad I left this bit to the pros. Working with the plumbers on site was good - they know plumbing and heating really well, I now know the stove system and the Akva tank really well, so together we could make sure everything was done properly and would work well. |
 |
| Some impressive pipe work and some beautiful brass brackets. Sadly these will all be hidden once the pipes are insulated. |
 |
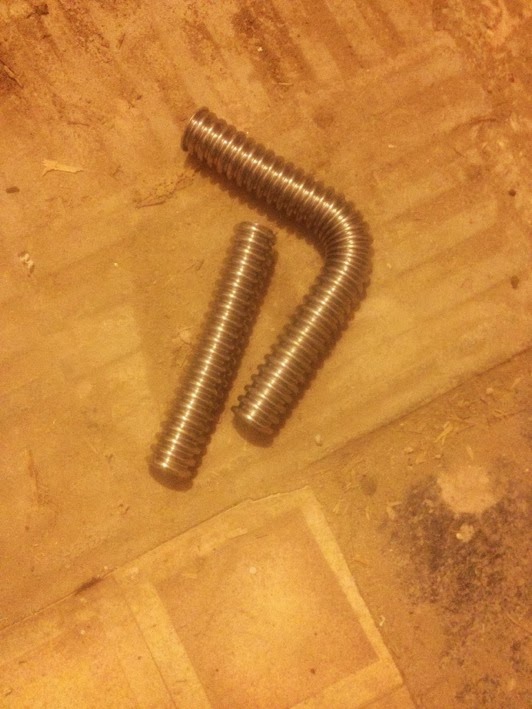
| Stainless steel solar pipe, or spare parts of a Cyberman? |
 |
| Green-roof substrate ready to spread. |
 |
| Green fleecy layer protects the roof membrane, and helps filter sediment out of water before it runs off the roof. The substrate (recycled crushed brick and other materials) holds on to rain water and provides a growing medium for the plants |
 |
| Sedum blanket going on |
 |
| Ta-dah! |
 |
| Complete roof with scaffold safety rail removed. We both really happy to see the black monolith of a roof greened at last. |
 |
| The stove, alight at last! |
 |
| Counter-intuitively, the best way to fire the stove is top-down: build a stack of dry wood, then light kindling at the top. The fire gradually spreads down, with air supplied through holes in the sides of the firebox, channelled in from outdoors. This way there is always the correct ratio of air to burning wood, it's much cleaner, and the release of heat is more constant over a longer period of time without restricting the air-supply, meaning that more heat can be absorbed and stored by the bricks. |
 |
| Temperature in the first chamber after the fireboxes is 260 C at this point... |
 |
| ...while at the base of the chimney it's just 100 C - the rest of heat has been absorbed by the bricks. |
 |
| A quick view at the end of the firing, looking down at the firebox from the oven. Flames seem to be bypassing the oven via the "cold-slot" which is supposed to allow cooler air out of the firebox. I'm not sure whether or not this is meant to happen - I will be checking (Martin, if you're reading this: is it?) |