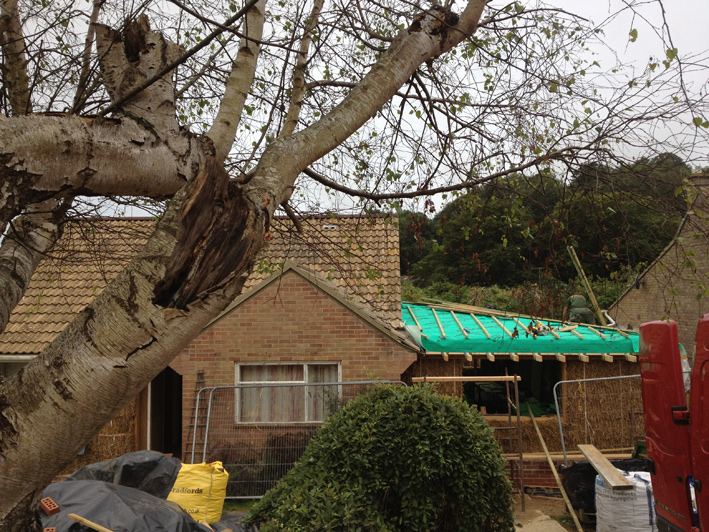
Apparently another month has somehow happened in the seemingly few days since I last posted on here. I've been doing a variety of small jobs, all aiming towards getting the outside sealed and the whole thing watertight. The roof is now watertight, thanks to EPDM membrane expertly installed by the guys from
Ken Whalley Roofing in Weymouth (the nearest installers). EPDM is a synthetic rubber, it's incredible strong and durable including in exposed positions - it doesn't degrade in sunlight, flexible (allowing for movement of the building without damage) and when installed correctly is totally watertight. For all of these reasons it's often recommended for use as the waterproofing layer of green-roofs. As modern roofing materials go its environmental impact is relatively good too: it's calculated to have a global warming potential of just under 7 kg of carbon dioxide per square foot. This still sounds quite a lot to me, but it compares with 11kg CO2/sq.ft. for PVC, and just under 12kg CO2/sq.ft. for modified bitumen (the common roofing felt seen on lots of garages and leaky extensions) and a whopping great 20kg CO2/sq/ft. for built up roofs (bitumen in layers with other materials). [source of data:
http://www.epdmroofs.org/3.2_Supplement_LCA.pdf]. The manufacturers claim that no toxic materials are released during it's production or installation but I haven't found the hard facts to back that up yet. I see it as the least-bad option, definitely lower-impact than most alternatives for the job.
The edge trims for the EPDM system (the visible finishes around the edge of the roof) are smart and crisp but very much standard. It's metal with some kind of plastic coating. This covers the join between the rubber membrane and the timber fascia board. It's bugging me a bit at the moment, this trim and the large white fascia boards we've ended up with. The original plan was that the fascias would be the same depth as those on the existing bungalow, but for various practical reasons they've ended up slightly larger. I don't know what the alternative would be but I suspect with a bit more time we could have found something a bit softer to look at, and more in keeping the rest of the build in terms of natural materials.
There's a stark mismatch (in my mind anyway) between the fascia and trim at the top of the extension, and the lovely natural oak render-stop that now lines the bottom edge of the straw walls. Hopefully this will become something I don't even notice but right now it's niggling at me!
 |
| sealing the cavity around new corridor opening into extension |
 |
| This represents a major lapse in sustainable materials use. It's polyurethane foam insulation (Kingspan/Cellotex etc). High embodied energy and quite polluting in its production. But it's hard to find a more sustainable alternative for this kind of application (any ideas please tell me). The roof lights extend above the rest of the roof and so above the insulation layer in a smartply box; this box would be a huge thermal bridge, rendering the triple glazing pointless. So the PU insulation provides a high level of insulation around that box without adding too much width. |
|
 |
| Awkward triangle gap above wall plate on outside wall. Using baling needles I restrung the bales with strings angled to match the roof pitch, then strimmed the excess straw off until the strings were exposed and the bales triangularish. Then bashed them into place with the Persuader. The even more awkward spaces at each end of the gap are stuffed with lots of Thermafleece sheeps-wool insulation |
 |
| Trimming straw on the gable in the Tent Of Doom |
 |
| Tim fitting cavity trays. These bridge the cavity and catch any water that finds its way into the wall above the extension roof, forcing it out onto some flashing and then onto the roof - not down the internal wall of the extension. It's a bugger of a job and I'm very glad I didn't do it! They're plastic, but 100% recycled plastic and made in nearby Yeovil. |
 |
| Supermarket fascias at the back (they look smaller now the trims are on) |
 |
| The gazebo finally died after a particularly stormy night. It's been held together mostly by gaffa tape and bailer twine for most of its working life. |
 |
| More rain dripping off the new roof and glistening in the sunshime |
 |
| At end of first day of EPDM work. The membrane is wrapped over a timber just below the tiled roof, forming a gutter that will channel water from the tiles roof away from the green-roof so that it can be collected in the rainwater harvesting tank. |
 |
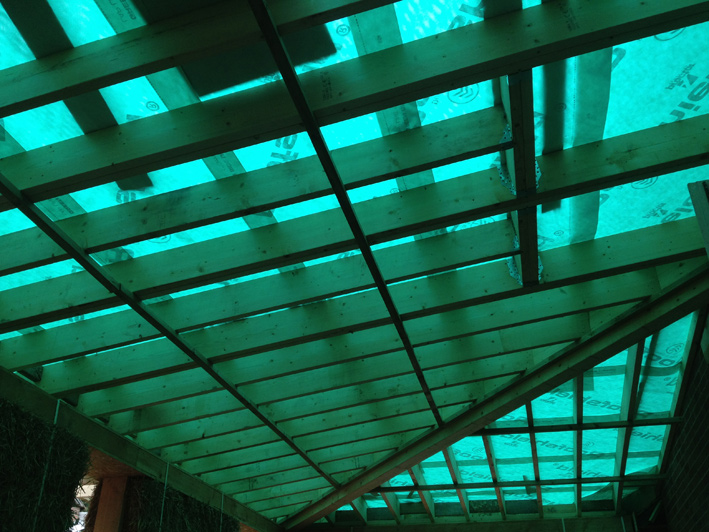
| Bendy panorama of half a rubbered roof |
 |
| Cavity filling pipes. Filling the cavity in the bungalow so that there's a continuous layer of insulation, and not a big unhelpfully ventilated space between the indoors and the new bale-wrap insulation. |
 |
| It's filled with chopped up glass-fibre, made from recycled glass |
 |
| The walls hummed and made a range of interesting sounds as the fibre was pumped in. |
 |
| Rubber roof |
 |
| Last bit of brickwork, to line the entrance. Screws behind it to provide improved key for the render to stop it falling off the timber. |
 |
| studwork to form wall between the great outdoors and the bungalow, under the back porch and conservatory roof. |
 |
| Nice bit of flashing by the gulley where the tiled-roof water is funnelled. Went for lead-flashing this time. Flashing choice for green-builds is tricky. Lead is quite toxic, throughout mining and production, and installation, and use.... But - it is also incredibly long lasting and recyclable. It can be taken off very old roofs and reused immediately. |
 |
| Finished EPDM, trims and fascia boards. |
 |
| Oak render-stop. The lime render will come down to this, flush with the outside edge of it, then stop. |
 |
| I spent a morning in Darren's workshop planing the front of the render-stops and routing a drip groove in the bottom (so that water drips off rather than being drawn underneath onto the wall). He called me a cowboy when I said I was just going to screw or nail diagonally through the top of the render stop to fix it. Suitably shamed I followed his advice and drilled countersunk screw-holes in the front and cut same-sized plugs to fill the hole once the screws were in. Bit of a pain but very satisfying when done. |
 |
| Highly manufactured trim at top, lovely timber detail at bottom. Plus recycled wall for 1st layer of path build up. |
 |
| Top to bottom: straw, Douglas fir, oak (with plugged screw-hole), lime mortar and slate damp-proof course, fired clay brick. |
 |
| Temporary rainwater downpipes and supports from skip. Not sure if it's arms or legs. |
 |
| Reed mat on the stud-frame between conservatory and bungalow. This will be plastered onto. |
 |
| Preparing for render. Laths and reed mat provide something for the render to cling to where there's no straw (which makes a brilliant surface for render to stick to). |
 |
| Reed mat bridging gaps and covering the timber wall plate, again so that the render has something to hold to. |